New in 2019 – ABK’s Free Thanksgiving Ebook, with printable timeline checklist, grocery list, more recipe links for ABK Thanksgiving favorites and additional Thanksgiving tips to help you keep everything running smoothly!
Best Basic Flaky Pie Crust is absolutely the most simple pie crust recipe ever! I have been making pie crust for over 35 years. I’ve made hundreds of pies, and this recipe is hands down the best AND easiest pie crust on the planet. With a few ingredients, you will become a pie crust master. Also included in this recipe is my tried and true method for making no-shrink blind baked pie crust!
Pie crust should be a simple thing. This recipe for best Flaky Pie Crust is just four ingredients and a few short minutes to make. All purpose flour, shortening, salt and water. That’s it! No vinegar, egg, or sugar in this recipe. I think you’ll find, as I did many years ago, this is the last pie crust recipe you will ever need.
Follow the steps…
Pie crust is easy if you follow a few simple steps
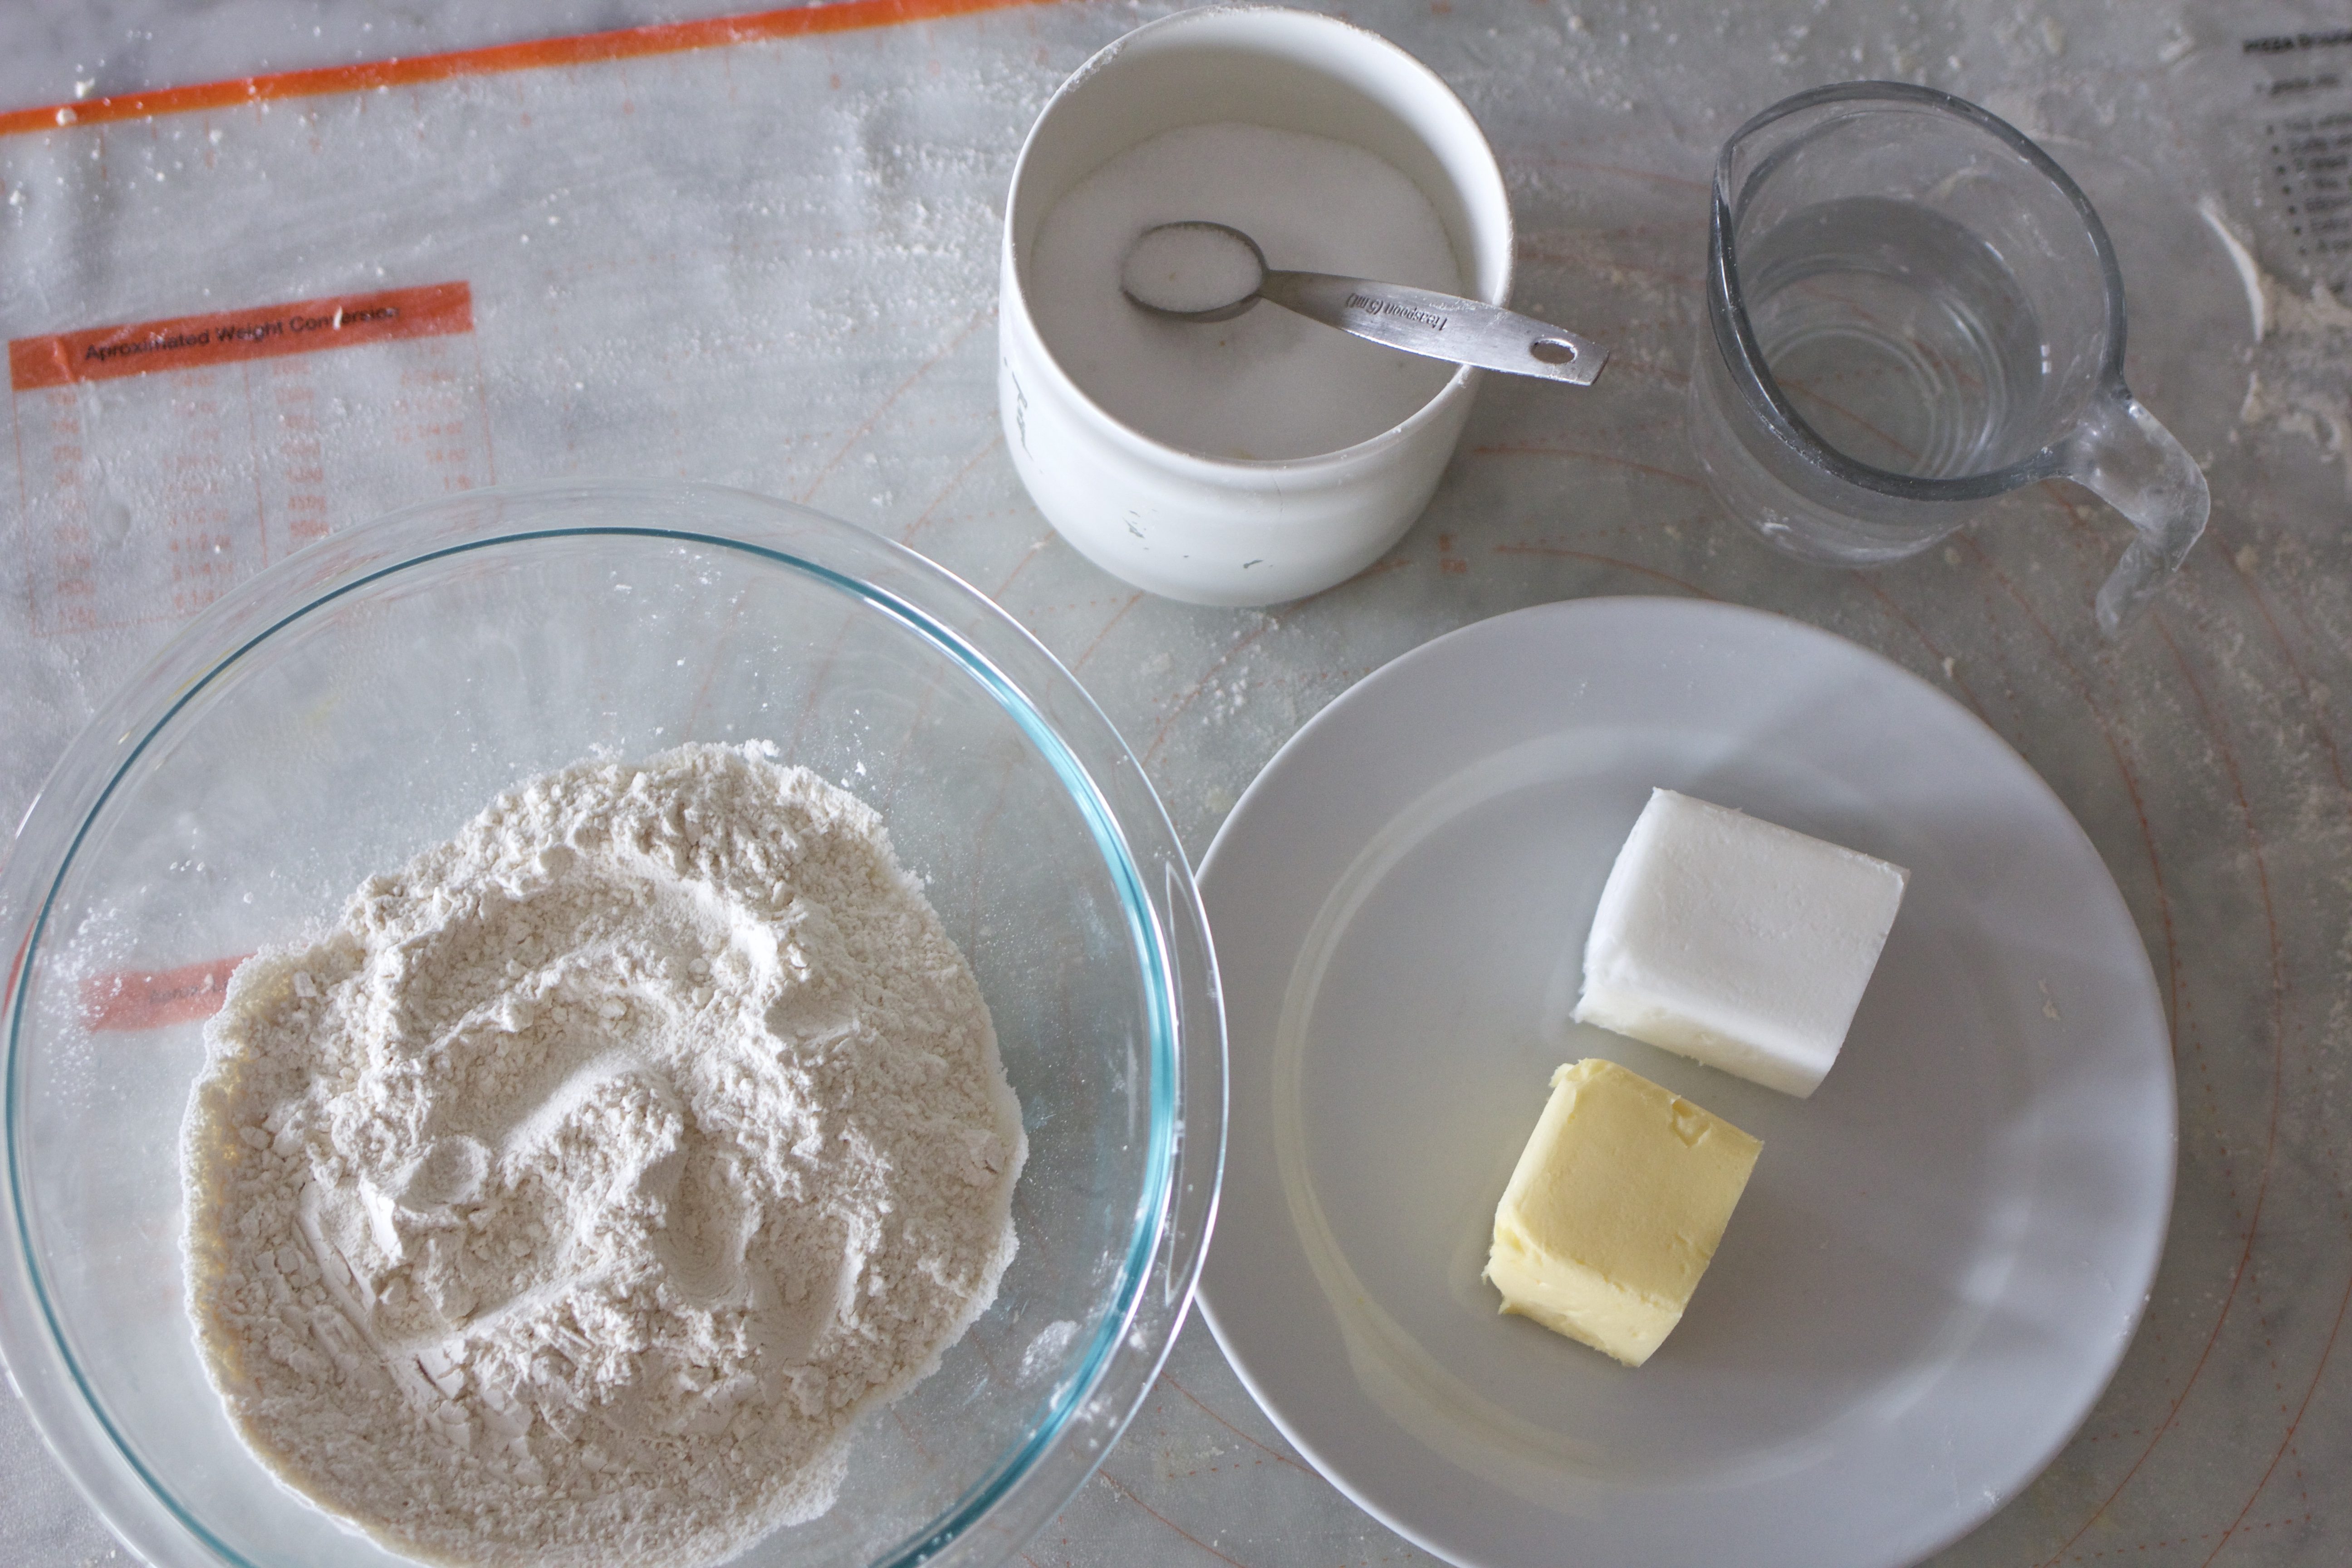
-I suggest always gathering ingredients before you start. No one wants to make pie filling, heat up the oven and then find out they have zero flour in the house! Gather first, then bake.
-Use Crisco for baking, I like half regular flavor and half butter flavor (not butter, just Butter Flavor Crisco) for the flakiest crust ever. If you want your crust to taste like Grandma’s- use shortening!
-Follow the recipe directions exactly.
-If you are blind baking, preheat the oven at least 15 ( I strongly suggest 30) minutes before placing the pie into the oven. Make the pie pastry, turn on the oven, and then place the formed pie crust into the refrigerator 45 minutes, or freezer for 30 minutes.
-Always place the oven rack on the lowest setting in the oven! Bottom shelf is best. If you are blind baking (single crust, no filling bake on center shelf).
Follow along for step by step instructions:
Four simple ingredients: Flour, shortening, salt, water.
Place flour, salt and shortening in a bowl.
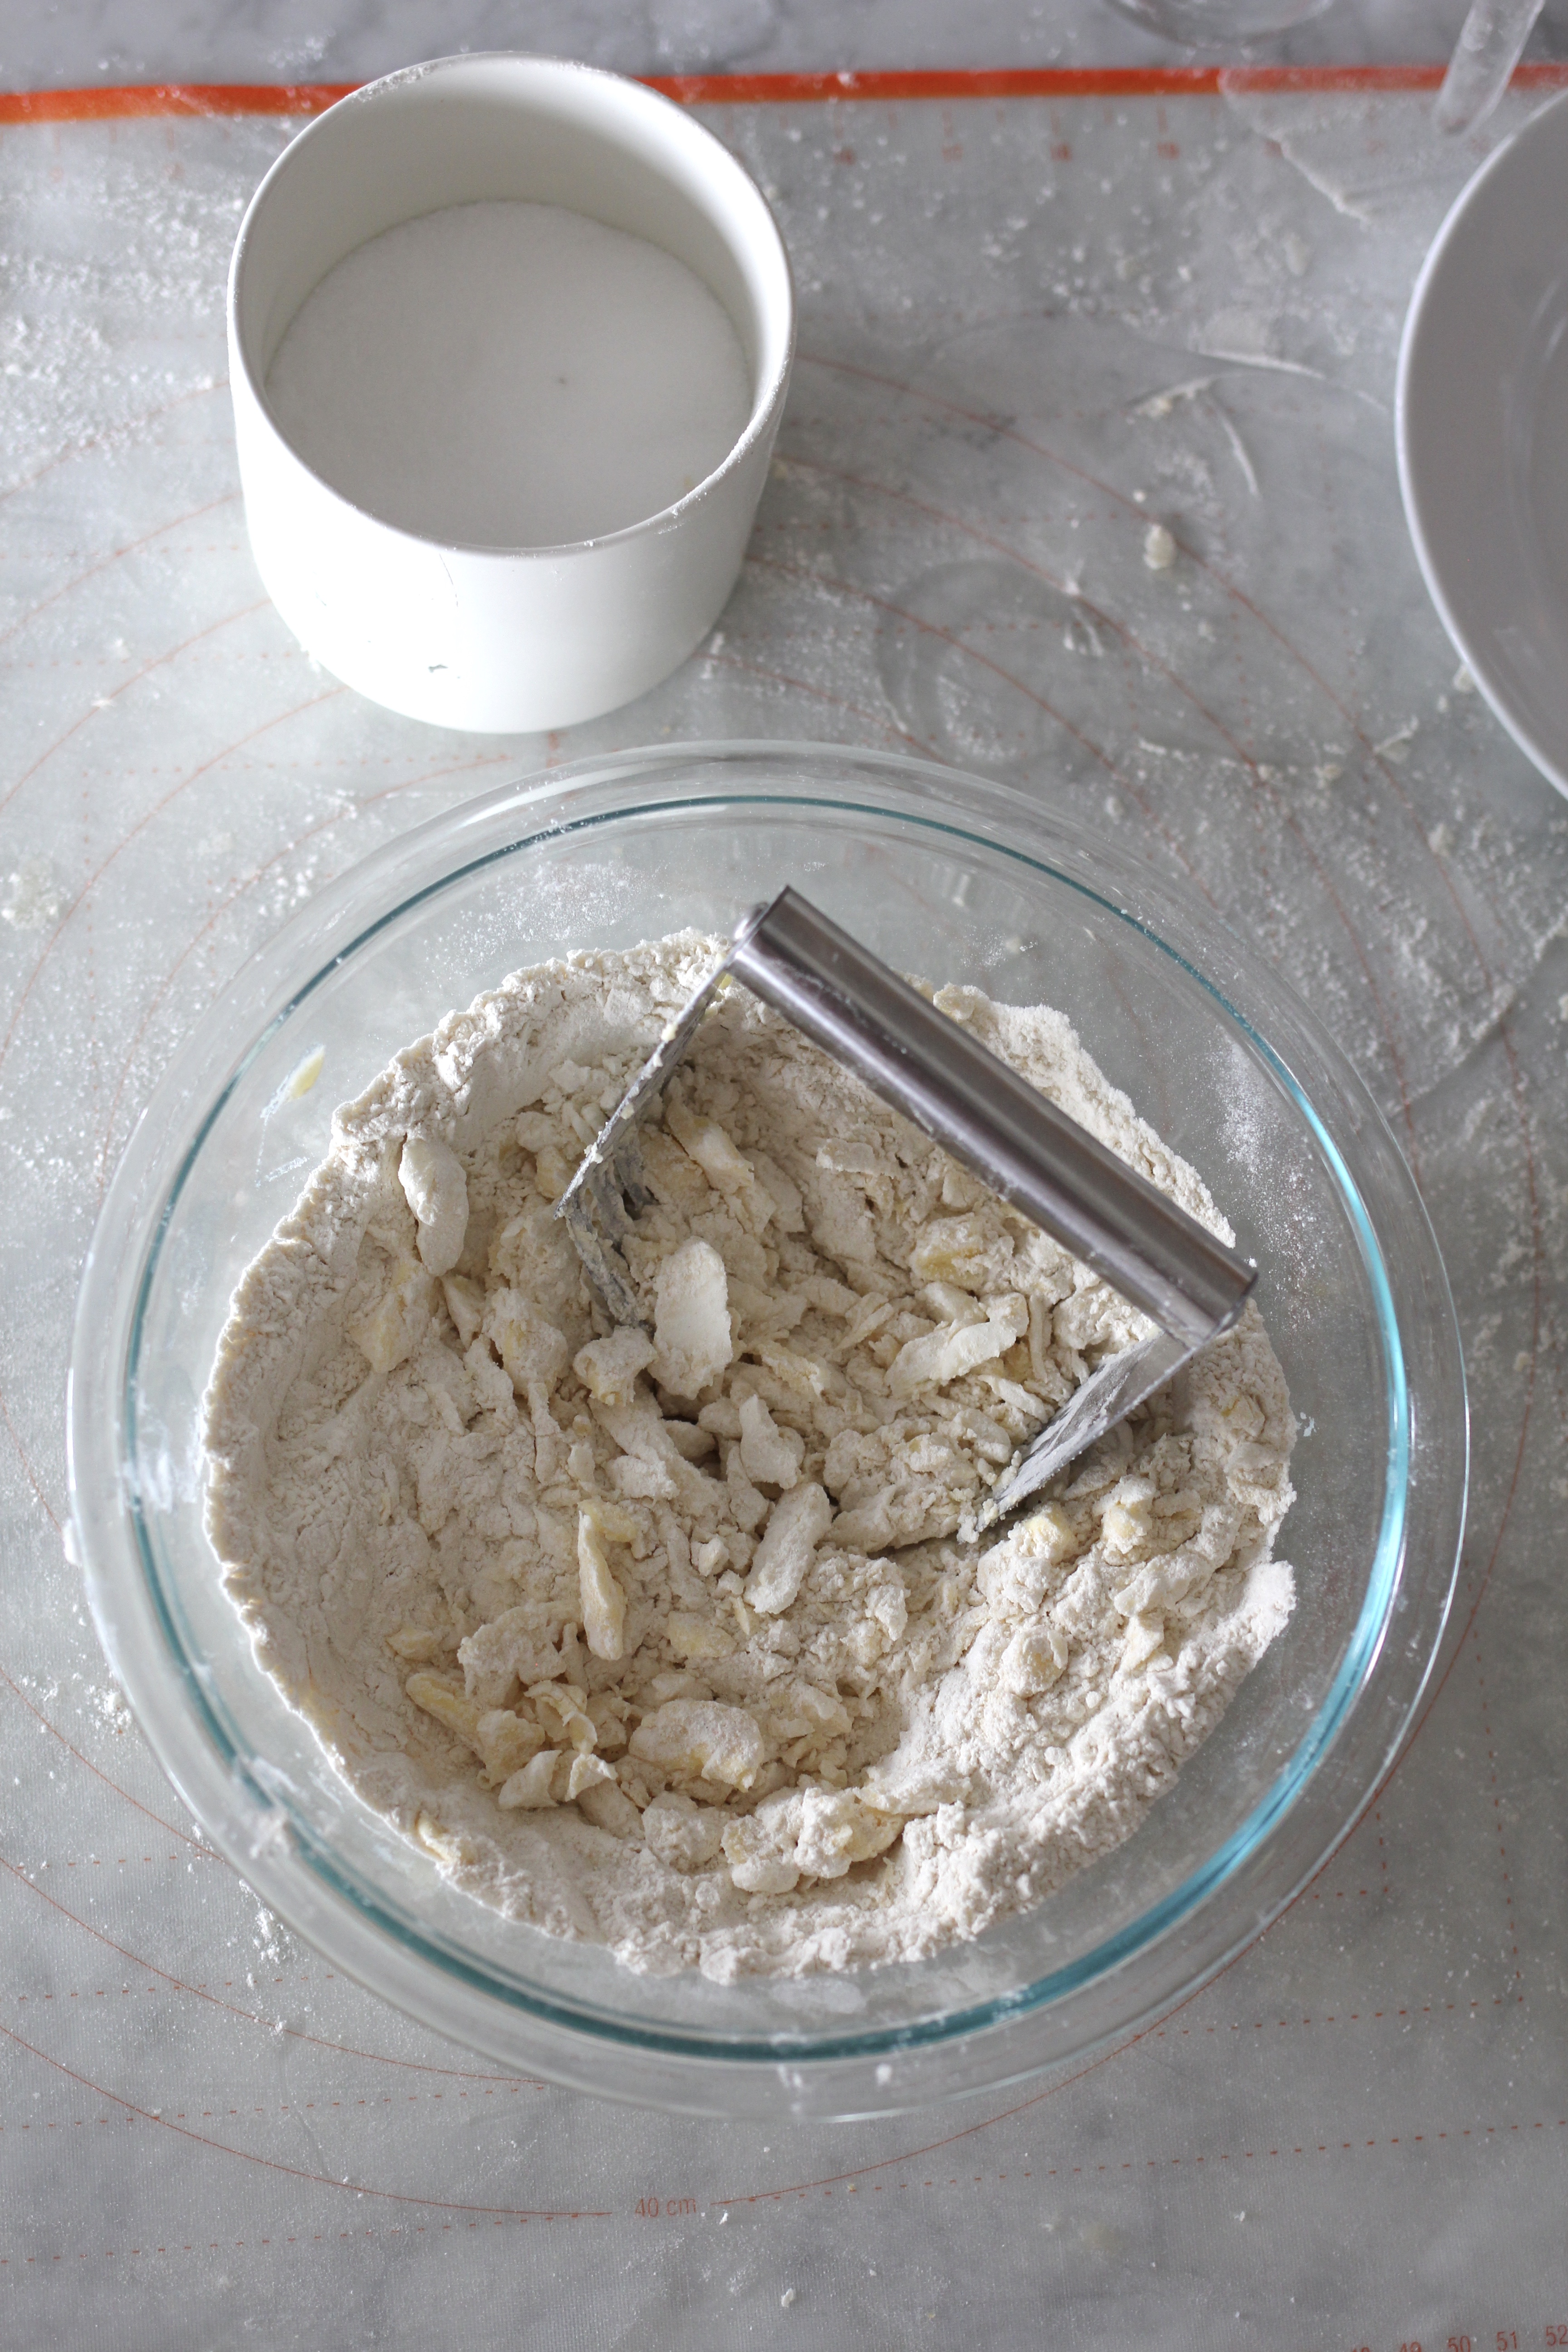
Cut the shortening into the flour see recipe notes for instructions…
The shortening should be the size of small pebbles when done. This takes about 20-30 seconds!
Add cold water all at once.
Fold water into ingredients in bowl. Do not over mix.
Split the dough into two pieces, Roll out half to 1/8 inch thickness.
Place the pie plate on top of the dough, the edge of the dough should extend about 2-2 1/2 inches beyond the edge of the pie plate.
Fold the dough in half…
Lift the dough and place onto the pie plate.
Gently press the edges of the dough into the pie plate.
Shape the edges of the crust as desired, make sure to prick the dough with a fork if blind baking the crust to prevent bubbling of the pastry! That’s it! See how simple it is to make a single blind baked crust? Make sure to follow recipe instructions for refrigeration, heating up oven and reducing the amount of shortening if you blind bake and don’t fill the crust before baking!
A couple more tips and suggestions before you start!
Practice time
Pie crust is best when it is not overhanded. Resist the urge to pat down, reshape, touch excessively. It’s okay if your crust looks a little “rustic”! A tender and flaky rustic crust is better than a tough picture perfect crust! If you are nervous about shaping and handling crust, make a 1/2 batch to test and practice… make it, shape it, roll out and place in a pan to practice forming edges of crust. It won’t cost much to make a practice batch, and you’ll have a chance to shape and re-shape when you’re making Best Basic Flaky Pie Crust and No-Shrink Blind Bake Pie Crust. Kids love working with dough, make a batch and work along side them as you learn!
Tools of the trade
Here are a few of my favorite tools for making pie crust and pies:
The most amazing and affordable apple peeler, corer, slicer will make your life so much easier when you have to make an apple pie! I’ve had mine for years. Won’t make apple pie without it!
Pastry mat– not necessary, but so convenient to roll up, shake out in garbage and then wash. The mat pictured below is no longer available.
Rolling pin, this one is my favorite. Great control, easy to handle and store. It’s wood, so always wash by hand!
Pastry cutter– So easy to use. So easy to throw in dishwasher when done.
This post has been updated from the original post published in 2008. I’ve included directions and alterations to the original recipe for successful blind baking pie crust.
1cupshortening, less for single blind baked crust, see recipe notes**
½cupvery cold water, more may be needed*
Prevent your screen from going dark
Instructions
Mix flour and salt.
Cut in shortening with pastry blender or knives using a cutting motion, no stirring, only a short cutting motion to form small pebble like pieces with flour, shortening and salt.
Add 1/2 cup water all at once.
Fold ingredients with fork until flour is absorbed and dough comes together. If needed, add more cold water, a tablespoon or two at a time, until the dough resembles something similar to biscuit dough. It should be damp, but not sticky. Do not add too much water.
Divide dough in half for two pie crusts. The dough should be soft and not sticky. If sticky, roll in a bit of flour.
Flour surface and rolling pin well. I use about 1/4 or more cups of flour on surface and spread in circle. Keep the rolling pin floured.
Flatten dough with hand to make round disc shape.
Roll out from center to about 1/8” thickness. Place the pie plate on top of the dough. The dough should be rolled out approximately 2 1/2 inches past the edge of the pie plate, to allow for the dough to sink into the corner of the pie plate, and also extend over the edge of the plate so an outer crust is easily formed.
Fold dough in half, lift onto pie plate.
Open and shape to pan, make sure to gently press the pastry into the corner of the pie plate.
Cut off excess dough if making a single pie crust. If making a pie to be baked with filling, fill the pie shell, top with crust if desired (if making apple or other fruit pies). Follow pie recipe directions.
If baking for single crust pie, follow directions below for Single Blind Baked Crust.
To bake a single crust:
Alter the recipe above to use 5-6 tablespoons of Crisco, instead of 8 tablespoons. This will help your crust to stay in place and not shrink! The crust will still be flaky and easy to handle, but your shrinkage will be less.
It is important when baking a single crust to form the edges of the pie to the very edge of the pie plate. Do not skimp on dough on the edge of the crust. You want to have a thick layer of crust in order to prevent shrinkage. I sometimes use about 3/4 of the crust recipe for a single pie crust if I want to make a crust with a pronounced edge.
Poke holes in the bottom and sides of the crust to prevent bubbles from forming in crust.
Turn oven to 500 degrees. Yes, 500! The oven should be very hot when you place the crust into the oven. Preheat for at least 15 minutes. (I like to preheat for 30 minutes).
Place the formed pie shell into your refrigerator (or better yet freezer) for 30 minutes, uncovered.
After the crust has been refrigerated or placed in freezer, bake for 7-10 minutes in preheated oven on CENTER rack. I bake on center rack for a single crust.
Keep an eye on your crust through the window in your oven( if you have one) after about the 5-6 minute mark. The crust is done in about 8 minutes in my oven if I am baking two single crusts at once. Baking time will vary depending on the oven. YOu may need a little more or less baking time.
Remove from oven and let cool completely after baking. This crust will stay fresh for 2 days on the countertop in a dry climate.
Notes
-Dough will be easier to handle if chilled for an hour or so if you are a beginner baker. Not necessary, but it may help in handling of dough.-Try rolling the dough around the rolling pin and then unrolling right onto the plate.-I always use ½ regular and ½ Butter Flavor Crisco. Note this is not butter, Butter Flavor Crisco. -Some people like to “cut” the flour in with their fingers.-Don’t cut the flour and shortening too much, the pieces of shortening are what make the crust flaky.-If your pie is getting too brown on the edges, take a piece of foil, fold in half to make a square then cut a half circle out of the middle. Unfold and put over your pie.-Brush beaten egg or egg white over your pie dough before filling with pumpkin to avoid soggy crust.-Preheating the oven is essential when blind baking. The oven is ready for baking when the oven is heated to 500 degrees for over 15 minutes after reaching temperature. -The amount of water will vary in they recipe depending on many factors: the brand of flour used, the type of shortening, the temperature of your kitchen, the bowl used for mixing, the water temperature and how you mix in the water after the shortening has been cut into the four. You may need additional water. Add a little at a time, making sure to never stir, use a folding motion when adding water. -This recipe freezes well. You may roll out the dough onto pie plate and freeze immediately. Wrap with a piece of parchment paper on top of pie crust, then use Saran Wrap or slip pie plate into a large ziplock bag. When ready to use, do not thaw, just fill and bake or blind bake. You may also bake the pie crust, let cool completely and freeze. When ready to fill, let thaw and fill. -You may freeze crust after wrapping into single crust portions. When I make a batch of dough, I split in half and make a disc shape, then wrap in Saran Wrap tightly. When ready to use, thaw in refrigerator or on counter top for about an hour. Roll out and bake as directed. -I highly recommend glass Pyrex pans for baking, especially for beginner bakers. The glass makes it easy to see when the bottom crust is browned. The exception to this is if you are freezing a pie completely, and then baking. I highly recommend using a good quality metal pie plate when freezing pies.
Did you make this recipe?
Be sure to leave a comment and give this recipe a rating, letting me know how you liked it. I’d love to see a photo, tag @abountifulkitchen on Instagram!


Angelene
I make pie often because I prefer it over cake. I use this recipe every time I make a pie. The steps are easy to follow and it has never failed me. I have even used this recipe when making chicken pot pie. YUM!
Suzanne Doom
This pie crust is amazing! Super flaky! Easy to make! Used this for multiple pies so far and they have all turned out so good. So many compliments!
Kristine
By far my favorite pie recipe! It’s perfect everytime. Use the shortening. Skip the butter.
Kathy Camp
This pie crust recipe is excellent. The step by step instructions make it a no fail for making pies. I like it best with butter crisco and regular crisco.
Shanna Scoresby
I love this recipe! It really is the perfect (and no my complicated) pie crust. Thank you!