Last week at The Fork, we had an amazing hands-on bread making class taught by Frieda, Queen of Bread Making. Frieda is a darling woman who really knows her stuff when it comes to bread and roll making. If you haven’t already stumbled across her blog, you can find it here. Who doesn’t love the smell of bread baking in the oven on a cold and snowy day, which we FINALLY had last week and most of the day today. Yes, our White Christmas, finally came, a month late.
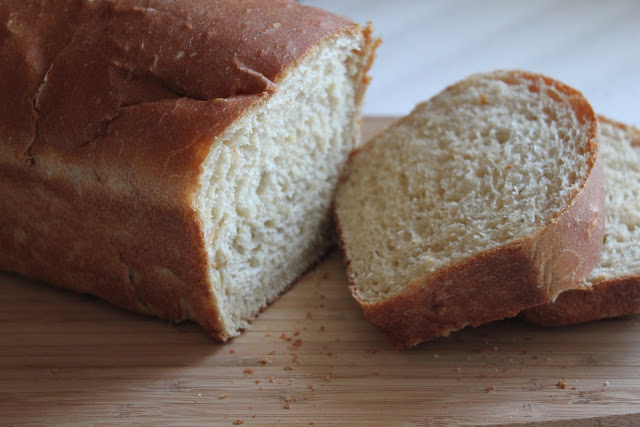
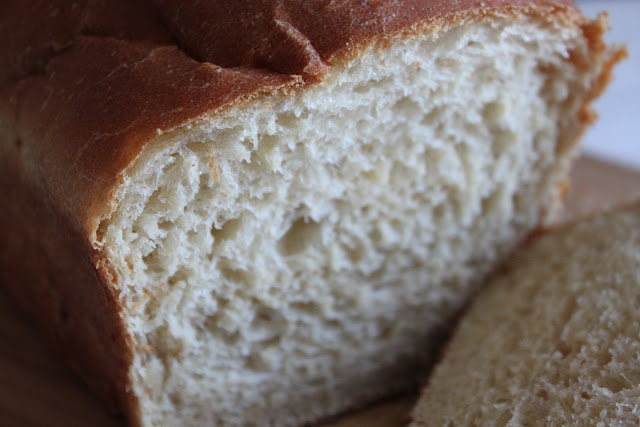
If you have been looking for a good starter-level recipe for light wheat bread, this is perfect for you. It’s fairly simple to put together (don’t be intimidated by the lengthy recipe), and your family will love it. The texture is so light, it’s almost like white (gasp!) bread. Forget the fragrance candles. Nothing beats the aroma of home made bread, baking in your oven.
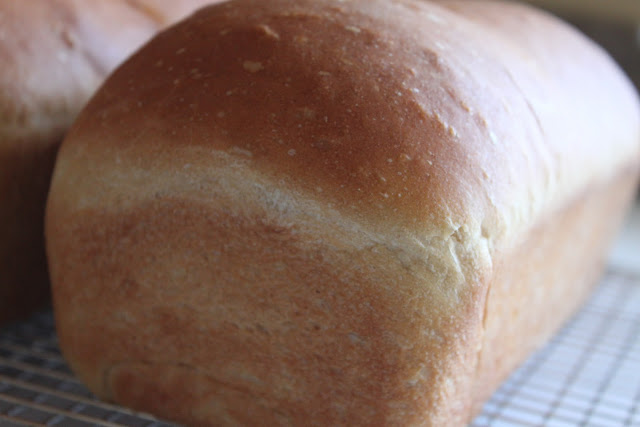
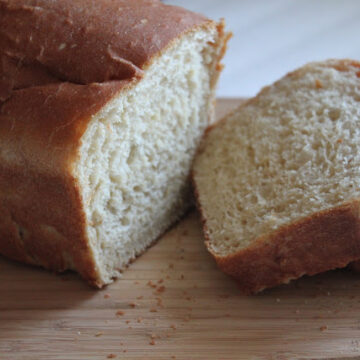
Frieda’s Light Wheat Bread
Ingredients
- 2 1/3 c. room temperature water
- 1/3 c. vegetable oil
- 1/3 c. honey
- 3 c. whole wheat flour
- 1 T. salt
- 1 T. vital wheat gluten, purchased at health food stores
- 2 T. active dry yeast
- 2-3 1/2 c. all purpose flour
Instructions
- Place water, oil and honey in a 5 quart mixing bowl. Stir until dissolved.
- Place 3 cups wheat flour on top. DO NOT STIR.
- Sprinkle salt, gluten and yeast on top. Stir until flour is not visible. You may have a few lumps visible.
- Cover and let mixture sit for 10 min. You will see bubbles begin to form in the dough at this point.
- Add 2 cups all purpose (white) flour. Mix thoroughly.Add 1/2 cup all purpose flour at a time, mixing thoroughly each time. Dough should start to cling to the hook and begin to clean the sides.Between each 1/2 cup of flour added, knead for 1 minute. Stop the mixer and check the dough.Dough should start to look “smooth.”
- Touch the dough lightly. Dough should feel moist, not dry. If dough is sticky (leaving a lot of dough on your fingers), add 1/4 c. flour and knead for 1-2 minutes.Check the dough. Dough should cling to the dough hook and your sides should have a little bit of dough on it.
- Remove dough hook, scrape down sides of bowl, oil the top and cover with plastic wrap.Let rise in warm room for 20-30 min.Double Test: Take 2 fingers and “poke” your dough about 1/2″. If the “dents” stay, it has risen double in size. If the “dents” try to rise back up, your dough needs more time.
- Take dough out of the bowl and put on clean, oiled surface.Divide the dough into 3 equal portions. (2 for the larger loaves)Shape each into a round ball and cover with plastic wrap.Allow dough to rest for 5-10 minutes for easier shaping.
- Grease loaf pans.Shape each portion into loaves by oiling surface (counter, etc) rolling into a 8×12 rectangle, taking the short end and rolling the dough towards you, sealing by pinching it tightly, pinching the ends of the loaf to fit the pan and putting it sealed side down in the loaf pan.Cover with plastic wrap.
- Let rise for 20-30 min. Dough should be about 1″ above the pan.
- Turn oven to 350 and bake for 30-35 minutes.
- Turn out loaves immediately onto a cooling rack.Cool completely before storing in plastic bread bags.
Did you make this recipe?
Be sure to leave a comment and rate this recipe! I’d love to see a photo, tag @abountifulkitchen on Instagram!
Uttarakhand Guide
Thanks for sharing instructions about how to make Frieda’s Light Wheat Bread. I was actually looking for same. Thanks for sharing about this.
Stella
Love this Frieda’s Light Wheat Bread, this one seems amazing . Super excited to try this one . Thanks for sharing this recipe with us .
Rose
Thanks for sharing these Frieda’s Light Wheat Bread and now we have ingredients and instructions too . Will definitely Gonna try this one .
Si Foster
Rose,
I hope you like this bread. It’s easy and light and I’m sure it will become a family favorite. Thank you for reading ABK!
xo,
Si
Girish Jha
Thanks for sharing about this Frieda’s Light Wheat Bread, will love to try this one . Now I have instructions and ingredients too .
sara
Thanks for sharing this Frieda’s Light Wheat Bread, never tried this bread. love this one with us.
Ajay
Love this Simple Bread recipe , I always bought this one but never tried , will love to make this . Thanks for sharing this one .
Ajay
This Frieda’s Light Wheat Bread seem so delicious , far better then normal bread. Thanks for sharing this one .
Sophie
Love this “FRIEDA’S LIGHT WHEAT BREAD”, never tried this one , will love to try this one. thanks for sharing this one.
Vamika
Home made breads!!! wow, Never tried this one but will try for sure, thanks for sharing ingredients and instructions.
Sachin rawat
I think its light weight sweet bread because honey is also there in this recipe . Btw Thanks for sharing this recipe with us .
Samrat India
Bread is one of the favorite food in the human diet. It is a staple food which people consume in their regular diet. Bread is a nutritional dish and having good portability and taste, it’s become popular. Thanks for showing this recipe.