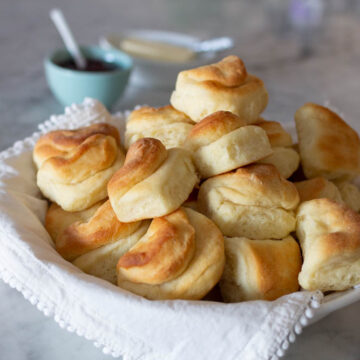
Aunt Myrtle’s Best Parker House Rolls are melt in your mouth delicious and a treat for anyone who loves amazing homemade rolls!
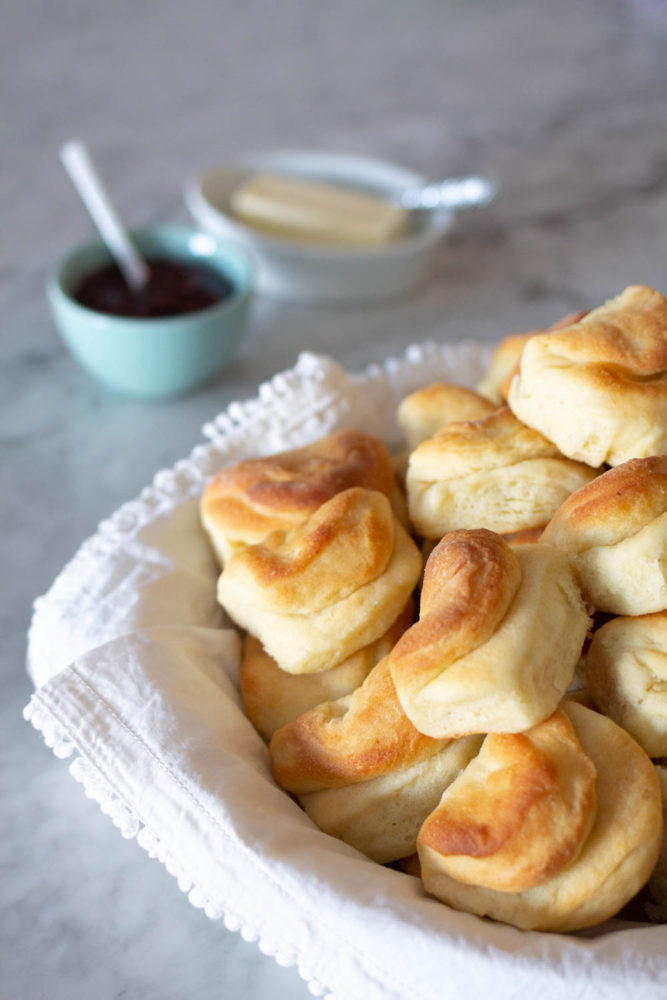
how did Parker house rolls get their name?
Have you ever wondered how Parker House Rolls got their name? Back in the late 1800’s, The Boston Parker House Hotel was first noted for serving Parker House Rolls made by the resident baker. Many sources say the baker was upset with a customer and made these rolls in a hurry and tossed them in the oven. The story doesn’t make much sense to me (other than the name of the hotel) but I do know making these fluffy morsels of heaven are becoming a lost art!
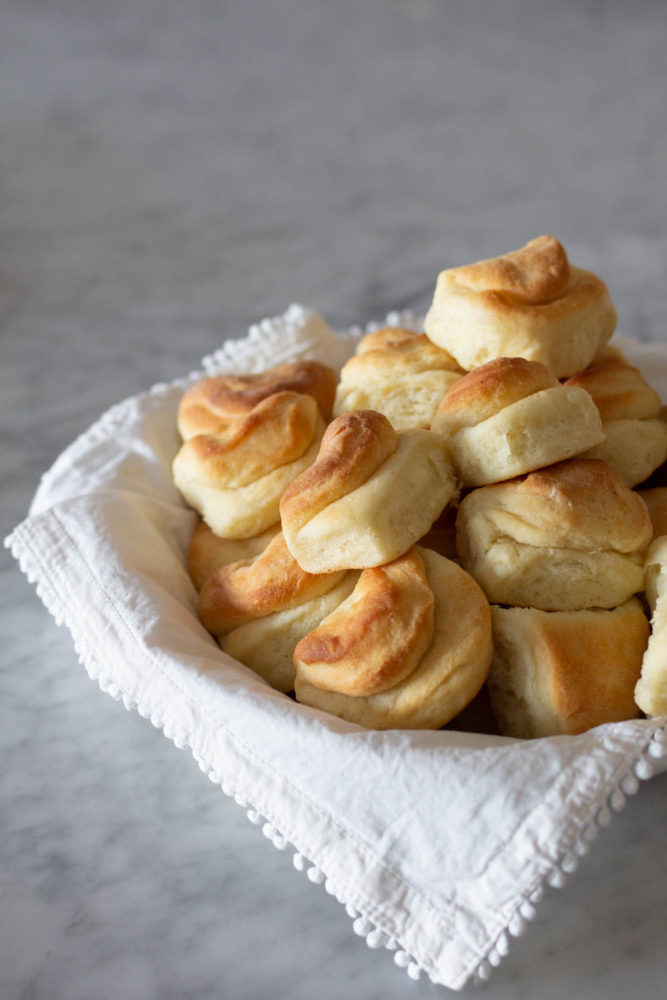
how do you shape a parker house roll?
Best Parker House Rolls are one of the easiest roll shapes to make. I love the way a glass or round cutter is used in this simple roll recipe. After rolling out the dough, a circle shape is cut into the dough, then the roll is dipped in butter on one side and folded over to make this cute shape!
The first homemade roll recipe I learned to make when I was a new bride was Parker House rolls. It was my mother in law’s roll recipe, also posted here on ABK. Doreen’s Rolls, are also a long time family favorite! In my MIL’s recipe, powdered milk is a main ingredient. If you don’t have powdered milk on hand, you will love making rolls using this recipe for Best Parker House Rolls! Just pour out of the carton and whip up this recipe.
Is it necessary to scald milk?
Many older bread and roll recipes call for “scalded milk“. It is helpful to know that years ago, before milk was pasteurized (heated to a high temperature to kill bacteria) it was necessary to scald milk before using in recipes. This is not a requirement now, since most milk is processed to be free of harmful bacteria. Simply heating milk so it is warm, and not cold from the fridge is all that is necessary!
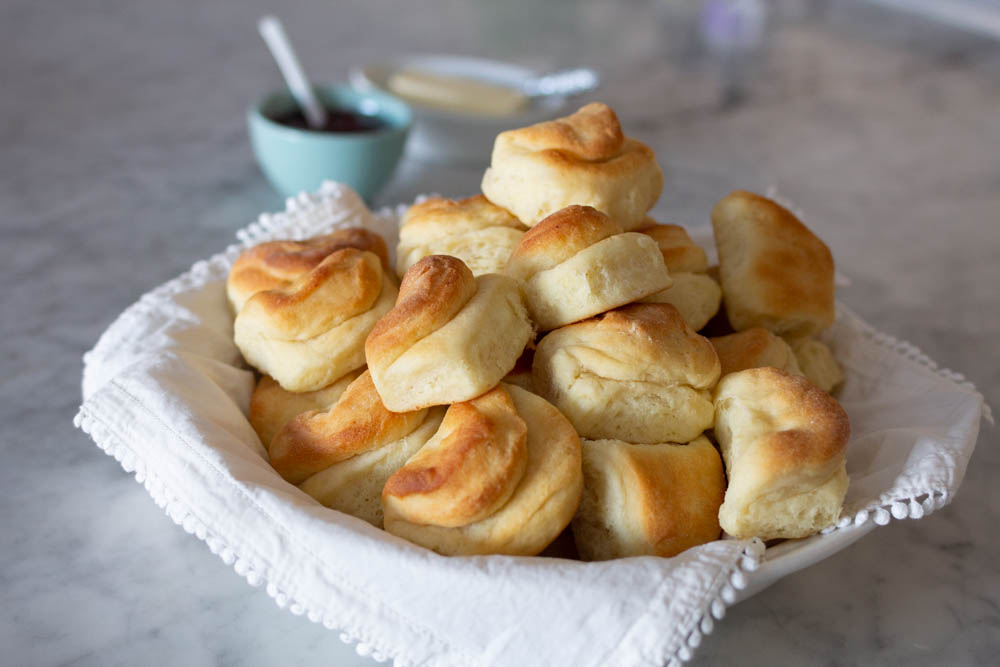
Is it necessary to dip the roll in butter?
The short answer- yes it is necessary! It is possible to skip spreading or dipping the inside of our Parker House roll with butter, but the result will be a roll that doesn’t pull apart after baking. The butter on the inside of the roll makes it flavorful and easy to separate! It doesn’t take a lot of butter, just enough to lightly coat the inside of the roll. I only dip one side of the roll and just the inside, not the whole roll.

easy for make ahead
Our Best Parker House Rolls are so easy to make! This is a perfect recipe for those who have not made rolls before. The ingredients are pantry ( and fridge) friendly, meaning you probably already have everything on hand to make this recipe. I also love how easy these rolls are for make-ahead! Simply make the rolls up to the point of shaping, then cover tightly and place the pan in the freezer. Instructions for thawing and baking on recipe notes.

Aunt Myrtle’s Rolls
Ingredients
- 1/2 cup warm water
- 1 tablespoon active dry yeast
- 1 tablespoon granulated sugar
- 1 1/2 cups whole milk (heated to warm)
- 2 tablespoons sugar
- 2 tablespoons vegetable or canola oil
- 2 large eggs, room temperature
- 2 teaspoons sea salt
- 5-6 cups all purpose flour
- 1/4 cup unsalted butter, for inside of rolls while shaping/cutting
Instructions
- Place 1/2 cup warm water in large bowl, or the bowl of a stand mixer. Add yeast and 1 tablespoon sugar. Whisk until mixed.
- Let the yeast rise and bubble. Add warm milk to the yeast mixture.
- Add 2 additional tablespoons of sugar, oil, eggs and salt. Use whisk and combine with yeast mixture.
- Add 4 cups of flour. Mix on low using the paddle attachment. At this point, I change to a bread or dough hook. Add an additional cup of flour. Mix again. Slowly add the remaining 1 cup of flour, just until dough is soft and not sticky or wet looking.
- Scrape down the sides of the bowl. Cover the bowl when the dough is mixed well and set in a warm place at least 72 degrees. Let rise for 1 hour.
- When dough has risen to almost double, generously flour a clean surface and lightly grease a jelly roll pan or two 9×13 pans with melted butter.
- Melt 1/4 cup of butter in small bowl. Roll dough out onto clean counter to about 1/2 inch thick. Using a glass about 3 inches wide, or a biscuit cutter, cut shapes into dough.
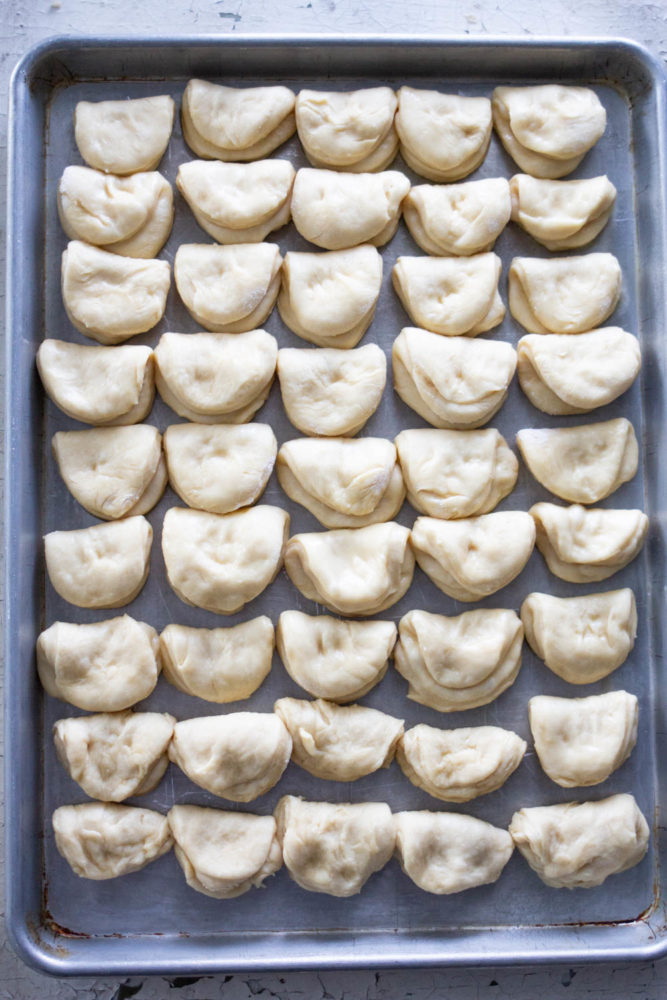
- Dip one half of the roll (on one side) into the melted butter quickly and then fold over and place on a pan. The melted butter should be on the inside (folded side) of the roll. (see recipe notes for tips on shaping rolls)
- Repeat until all of the dough is shaped and placed into the prepared pans.
- Let rolls rise for about 45 minutes in a warm, draft free place.
- Preheat oven to 400 degrees and place rack in center of oven.
- Bake rolls for 12-15 minutes or until golden on top and bottom of rolls are also golden.
- Remove from oven and spread or brush on additional melted butter while hot.
Notes
- This recipe makes about 3 dozen, (plus a few extras) rolls.
- Make sure the water and milk are warm, but not hot!
- After cutting the rolls into shapes, take the roll and gently stretch the outer edges, flattening the dough out a little. This will prevent a roll that is too thick before baking. If the roll is too thick when you place it on the pan to rise, it may unfold during baking.
- If you want to make the rolls before Thanksgiving day, prepare the rolls up to the point of cutting out and placing in the pan, then cover with plastic wrap and put in the freezer. Take the rolls out of the freezer about three to four hours before baking. Remove plastic wrap, cover with kitchen towel. Let rise for second time. Bake as directed.
- If your oven bakes hot, reduce temperature to 375 degrees.
Did you make this recipe?
Be sure to leave a comment and give this recipe a rating, letting me know how you liked it. I’d love to see a photo, tag @abountifulkitchen on Instagram!
Sara
Easy and delicious! I always get compliments when I make these rolls!
Abby Perkins
Fantastic recipe! I made these for Thanksgiving this year and they were a huge hit!
Karina Calderwood
It’s always a little messy dipping in the butter but SO WORTH IT! This recipe has been a hit with us for awhile! Thank you thank you!!
Tally Hansen
Just thought I’d share a little trick I use to keep rolls from unfolding as they bake…slightly overlap the top over the bottom when folding. This makes the roll top heavy so that it stays folded and also creates a smoother, more uniform appearance after baking.
Thanks for sharing your recipes. So many of them have become family favorites!
Si Foster
Hi Tally!
Thank you for your handy tip, I can’t wait to give it a try! I’m sure there are many readers who will benefit from this great idea. Thank you for reading ABK and thanks for your positive comments!
xo,
Si
Ashlee
What do you use to prepare a pan? Butter or oil
Loretta
I remember my mom always mixing up her bread dough for Parker House Rolls and the Overnight Refrigerator Rolls…she also made Cinnamon Rolls and Loaves of Bread….she was an awesome baker/cook…She did her baking every Wednesday….Bless Her Heart, she is no longer with us and I miss her desperately……(I also remember my Grampa, her dad, always telling mom that she should open her own bakery)…..
I am going to be making up a batch of these today, I haven’t made these for a long time, I hope they turn out and I can’t wait to get started….
Love your sight, and your recipes look wonderful….I’ll be checking in with you on a regular basis….Thanks for sharing
Si Foster
Hi Loretta!
I love making memories in the kitchen, and I see your mother did that for you! Please let me know how these rolls turn out for you. I hope they’re as wonderful as your mother’s rolls!
Thank you for your kind words! I hope you love my recipes. I appreciate feedback, so please comment anytime. Thank you for reading ABK!
xo,
Si
Teresa
We are using different oils. Do you think avocado oil or coconut oil would work ok as well?
Si Foster
Hi Teresa, you can use either! Thanks for reading ABK,
xo
Si
Tonya farr
These are the best rolls!